Hinged Shower Door Removal Services Overview
Visitors will learn about local contractors who specialize in hinged shower door removal services and how to compare options to find the right provider.
- - Residential property owners seeking to remove or replace hinged shower doors.
- - Contractors looking for reliable local service providers to handle shower door removal.
- - Property managers needing assistance with bathroom renovations or repairs involving shower enclosures.
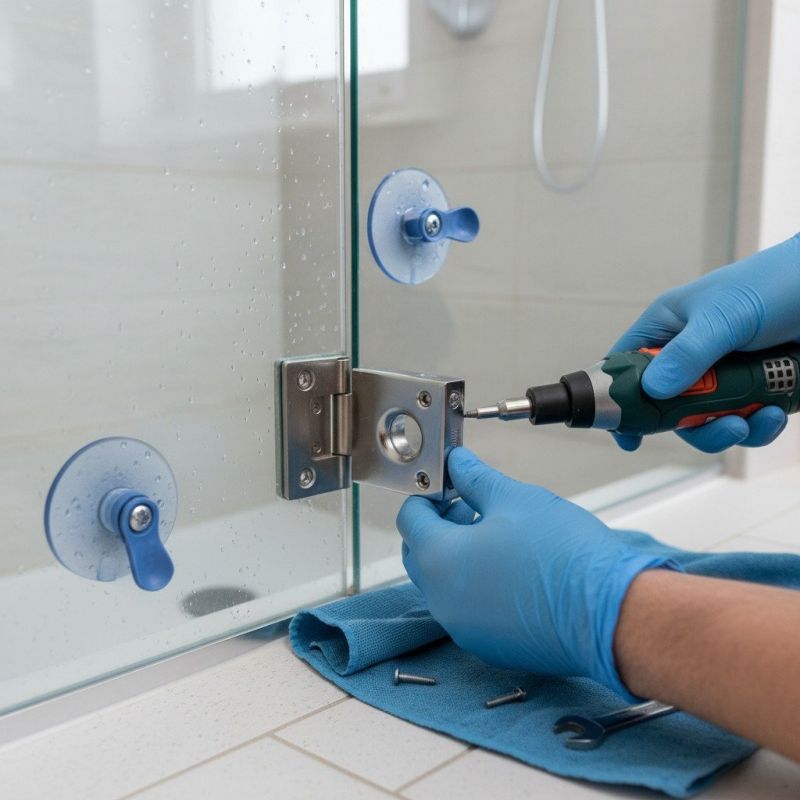
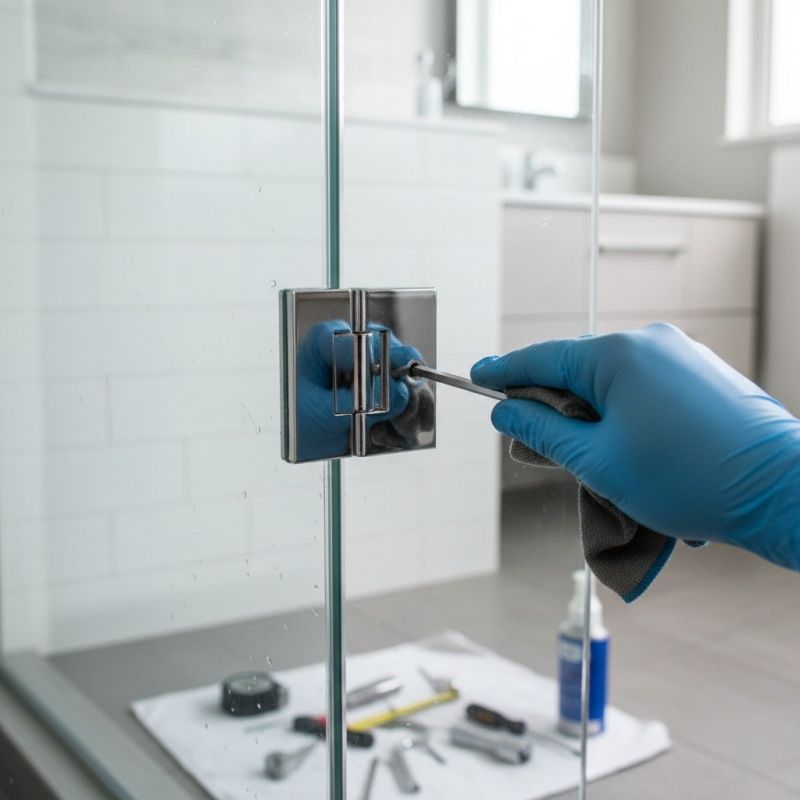
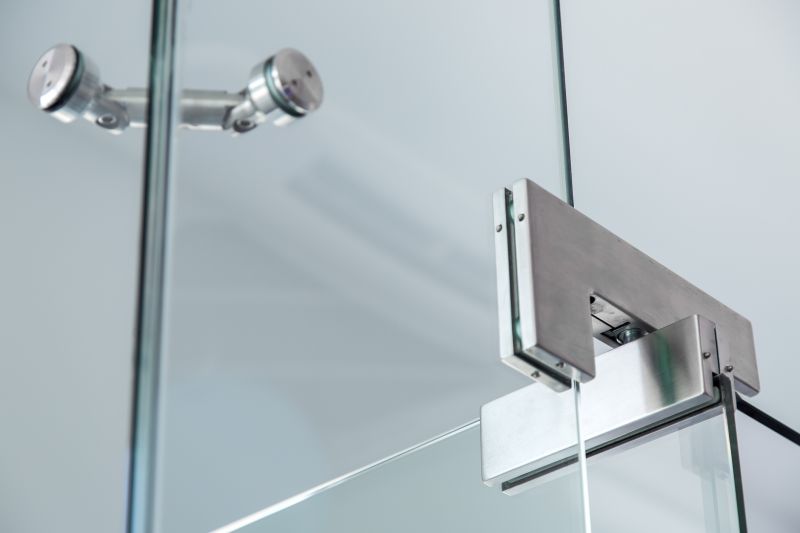
Hinged shower door removal services are commonly needed when homeowners want to replace old fixtures, update bathroom layouts, or perform repairs. Local contractors who specialize in shower door removal are experienced in safely detaching hinged doors from existing enclosures, often working carefully to prevent damage to surrounding tiles, glass, or framing. These professionals typically handle a variety of situations, including removing old, stuck, or damaged doors, and preparing the space for new installations or renovations.
Property owners seeking hinge shower door removal can expect to work with nearby service providers who understand the nuances of bathroom fixtures and glass removal. These local contractors utilize appropriate tools and techniques to ensure the work is performed efficiently and safely. Connecting with experienced professionals can help streamline bathroom updates and ensure the removal process is handled properly, setting the stage for successful replacements or upgrades.
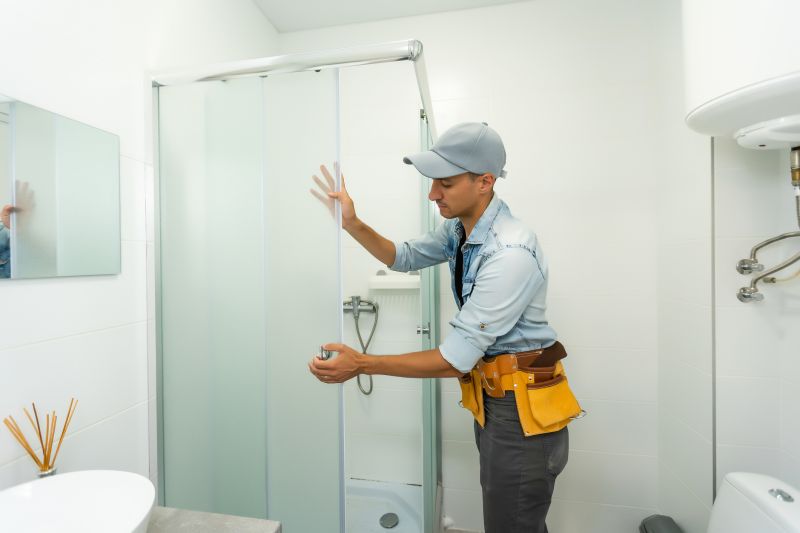
Hinged Shower Door Removal Services
Learn how local contractors efficiently remove hinged shower doors to prepare for upgrades or repairs.
This guide provides helpful information to understand the process of hinged shower door removal and what to consider before starting a project. It assists in comparing local contractors and understanding the services they offer. Use this resource to gather the basics needed to connect with experienced service providers in your area.